The Login Page is the primary interaction between your customers and your WiFi service. Editing the Login Page allows you to brand your WiFi splash page, choose Login methods, and configure other options such as a redirect action, Facebook or Instagram engagement, language options, and more.
If your business has multiple locations, each location can have its own distinctive Login Page. Alternatively, you can opt for a single default Login Page that works seamlessly across all your locations. You first need to decide which type of Login Page you’re going to create.

Creating a New Login Page
A. Create a default Login Page for all locations
- Navigate to your Login Page in the Portal
- Choose your Business in the Business Hierarchy panel
- In the Right panel, click on the “Create New” Link under “Add Login Page”
- You’re ready to edit the Login Page!
B. Create a Login Page for a single location
- Navigate to your Login Page in the Portal
- Choose the specific Location in the Business Hierarchy panel
- In the Right panel, click on the “Create New” Link under “Add Login Page”
- You’re ready to edit the Login page!
Editing your Login Page

- Navigate to your Login Page in the Portal
- Find which Login Page you wish to edit
- Click on the pencil Edit button in the top right of the Login Page preview window
- In the top bar, you have the option to rename the Login Page to keep things organized. You can also navigate through four different sections for editing Pages and toggle the “Advanced” editing options on or off.
- Under the Branding Tab, you’re able to make primarily visual changes
- Add a logo or main graphic
- Change or remove Text, both Title and subtitle
- Choose a background design – color, gradient between 2 colors, or image
- View or Edit the Terms and Conditions
- Under the Login Tab, you can choose which Login options you want your customers to have access to
- If you toggle the Advanced options, you’re able to edit the style and color of these buttons as well as edit the Framing box.
- Under the Post-Login tab, you choose what happens after your customers login
- The Post-Login Page will be what appears immediately after a successful login.
- You have options such as social media engagement or add your own custom HTML
- The Redirect Page is the first URL where your customers will be sent to after they login
- The Post-Login Page will be what appears immediately after a successful login.
- Under the Options tab, you can toggle some additional options such as language settings, and GDPR/Opt in forms
- Login Verification is the ability for an email or SMS to be sent with a code. Your customers will need to use this code to successfully login and use your internet. This helps prevent users from entering false data (not their real email or phone number).
- The Pre-Login Video is a short video clip that is uploaded to your router that will be played before the Login Page is presented. Note the 100MB size limit!
- When you’re happy with the design and functionality of your Login Page, click the “Save” button in the bottom right.
- Your Login Page is all set!

See More
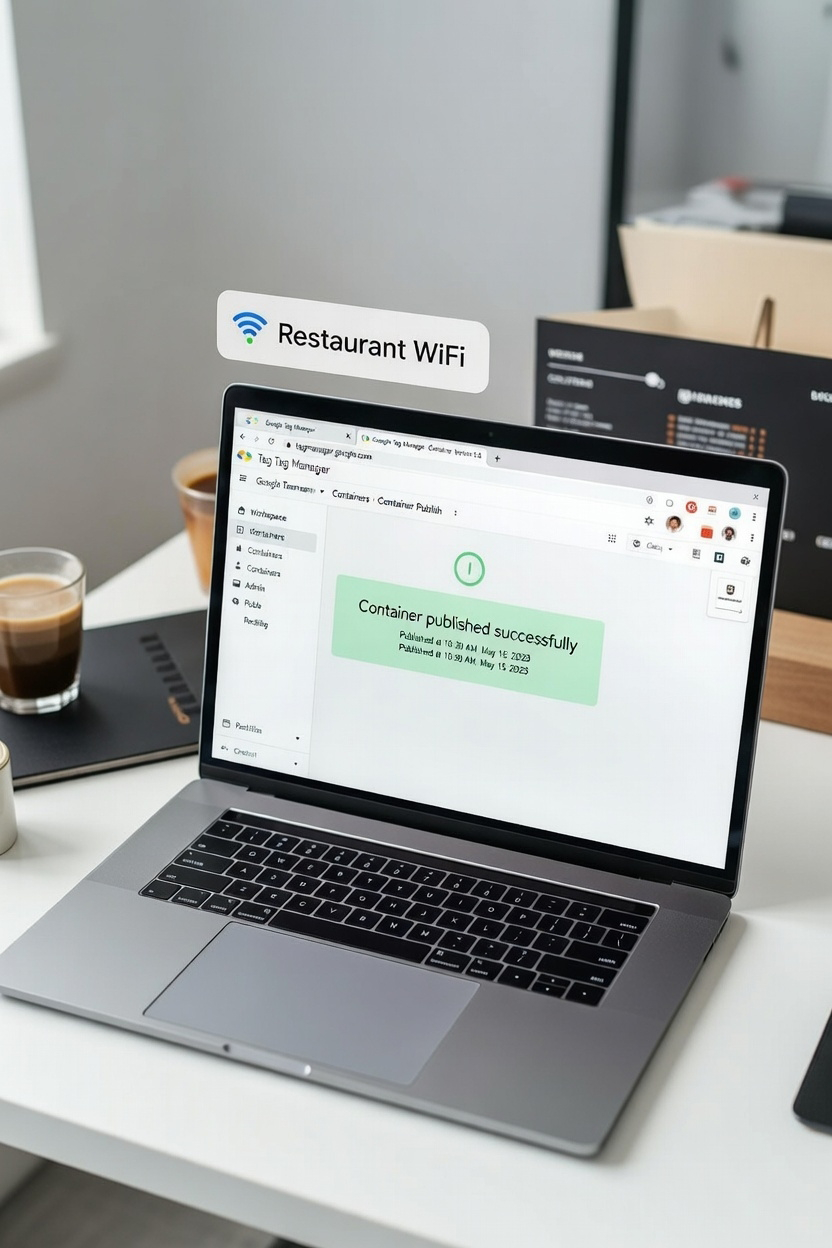

How to add Google Tag to your SmartWiFi
Here we explain how you can quickly and easily add your Google Tag to our platform and your WiFi infrastructure.


Getting to know the SmartWiFi.ai Portal
Join us as we dive into the myriad ways this powerful tool can transform your customer relationships and streamline your business processes.


How to use Broadcast Marketing Tools
Broadcast marketing comes to the rescue as a fantastic way to entice these customers to return. It’s a win-win strategy that keeps your customers engaged and coming back for more!

Still Have Questions?
Get assistance from the Smart WiFi team, contact us or see our FAQs.